Get Web-Est Connect
Work on your Web-Est repair orders from one dropdown in Chrome: PartsTrader quotes, photos, repair notes, payments and Titan Auto Defense import. Setup takes about 5 minutes.
Unzip it
- Open your Downloads folder.
- Windows: right-click
web-est-connect-1.7.0.zip→ Extract All… → Extract. - Mac: double-click the zip.
- You now have a folder called web-est-connect-1.7.0. Keep it there; Chrome uses it. (Next time you update, you'll get a new folder with the new version number.)
Open Chrome's Extensions page
Copy this, paste it into Chrome's address bar, and press Enter:
chrome://extensionsTurn on Developer mode
At the top right of the Extensions page, switch on Developer mode.
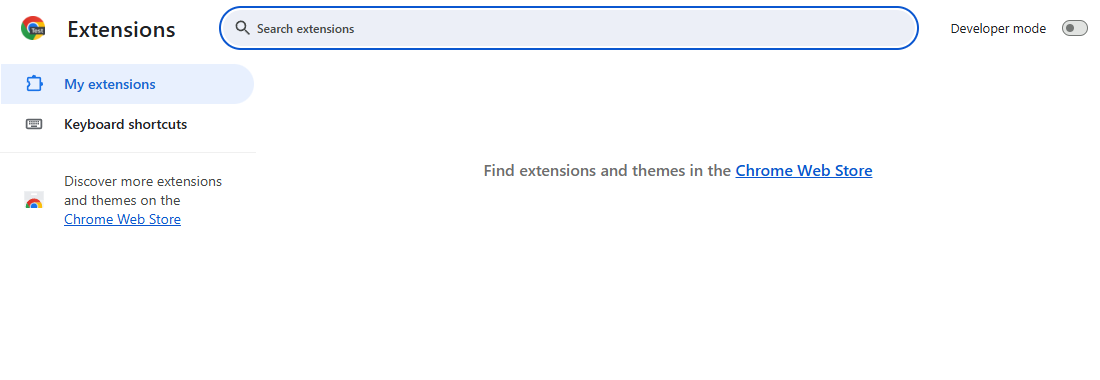
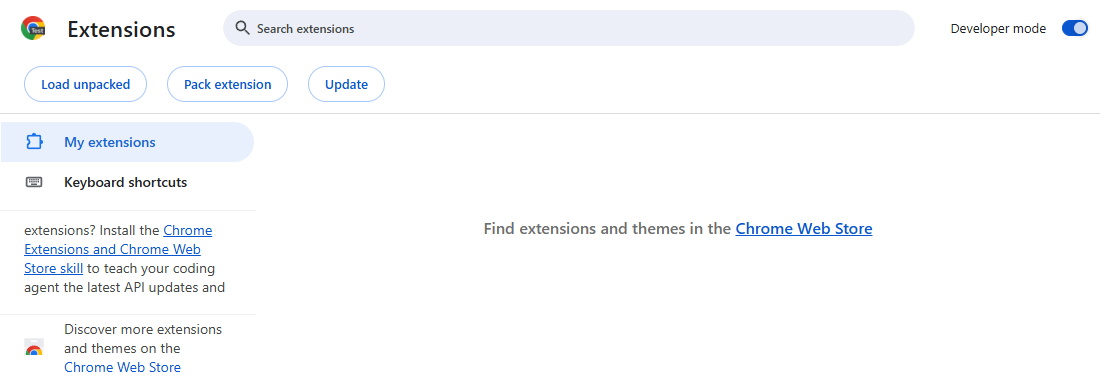
Click “Load unpacked” and pick the folder
Click Load unpacked, go to Downloads, click the web-est-connect-1.7.0 folder once, then click Select Folder.
Web-Est Connect then shows on the page:
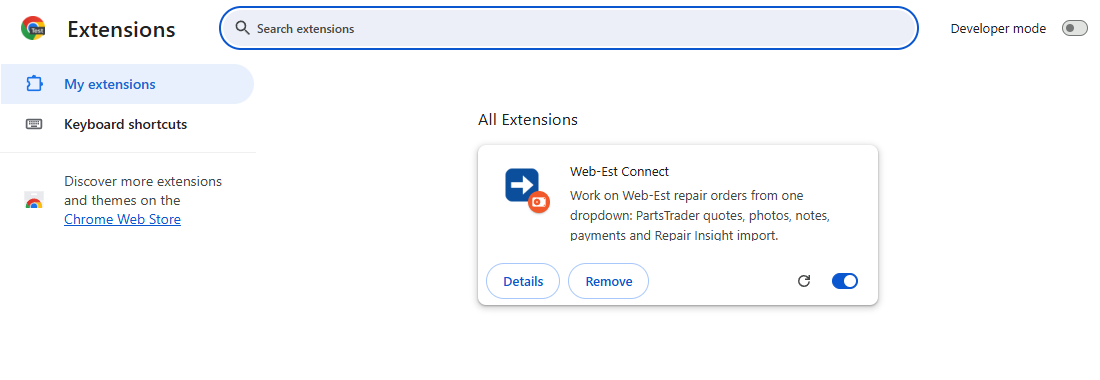
manifest.json inside), not the zip file.Pin it to the toolbar
- At the top right of Chrome, click the puzzle piece .
- Next to Web-Est Connect, click the pin .
- The blue arrow icon now stays in your toolbar. Click it any time to open Web-Est Connect.
Connect it to your Titan Auto Defense account
Click the Web-Est Connect icon, then Connect to Titan Auto Defense. (A setup guide also opened by itself when you added it; it has the same button.)
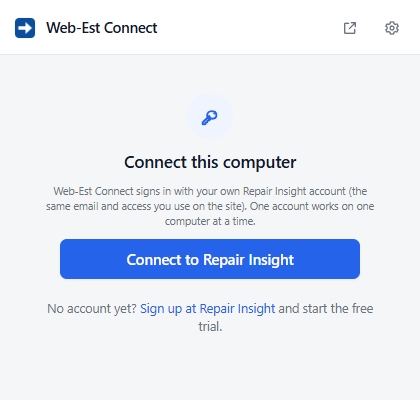
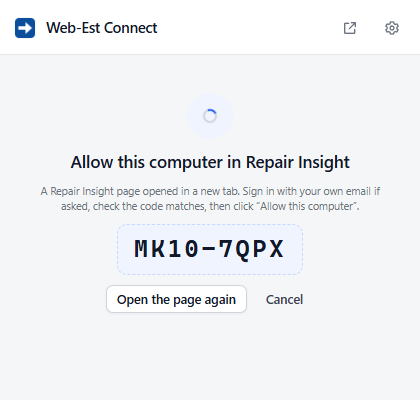
A Titan Auto Defense page opens. Sign in if it asks. Check the code matches the one in the extension, pick your shop, and click Allow this computer:
Your license is already on
Your shop's 30 day free trial started when the shop was set up in Titan Auto Defense, with a card. There's nothing to buy or start here. Once you click Allow this computer, this computer uses one of the shop's licenses while Web-Est Connect is open.
- Monthly ($197 a month): Web-Est Connect on 2 computers at once.
- Yearly: on 10 computers at once.
- A computer gives its license back about 10 minutes after the extension stops being used, so another computer can take it.
Skipped the trial when you set up the shop? The extension then says the shop has no license yet. The owner or an admin can start it in Settings → License.
Use it
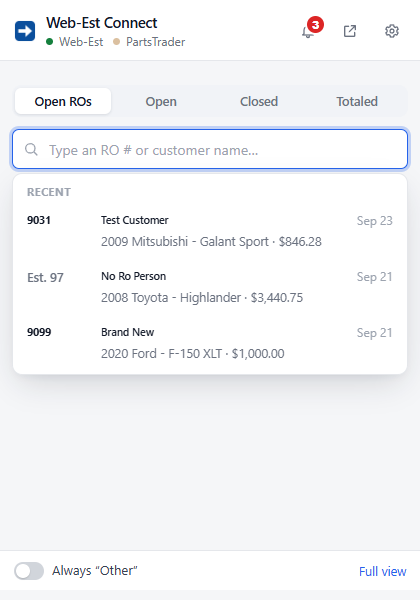
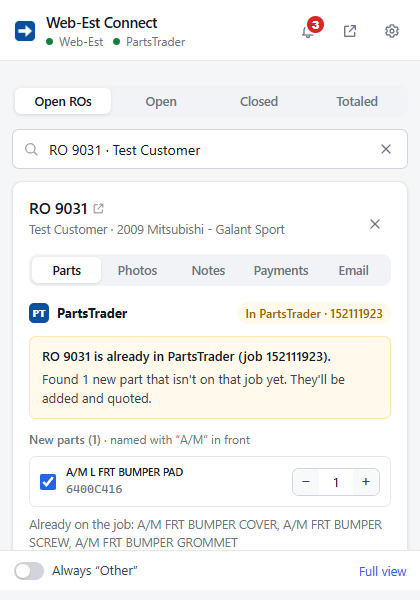
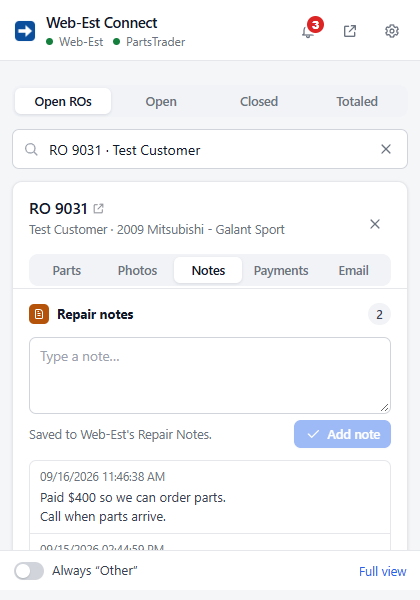
Click the icon, pick the list, and type an RO number or a customer's name. In the setup guide or Settings, add your Web-Est login (and PartsTrader, if you use it) so it can sign in for you.
Updating to a new version
When a new version comes out, the old one stops and shows “Time to update”. It takes about 2 minutes. Your settings, logins and connection stay as they are.
- 1
- 2
Unzip it
Right-click
web-est-connect-1.7.0.zip→ Extract All… → Extract. (Mac: double-click it.) You get a new folder called web-est-connect-1.7.0. - 3
Load the new folder in Chrome
In the extension, click Open Chrome's Extensions page (or paste
chrome://extensionsin the address bar). Click Load unpacked, open Downloads, click the web-est-connect-1.7.0 folder once, then click Select Folder.Pick the new folder (web-est-connect-1.7.0), not the old one and not the zip file. That's it
The new version replaces the old one by itself (you'll still see just one Web-Est Connect, now version 1.7.0). Click its icon and keep working. You can delete the old folder and zip from Downloads if you like.